Making a leather lens cap
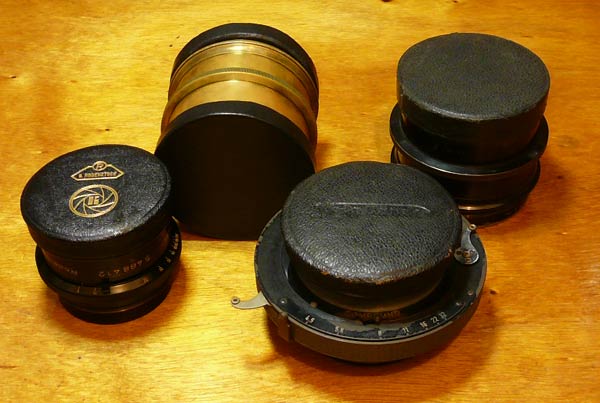
Brass barrel lenses with excellent photographic qualities or possibilities are quite often offered in auction sites or camera trade shows. Quite seldom with lens caps. But in usage they are normally carried separated from the camera and that poses the problem of how to protect the glass. There are some brand new plastic caps in the market but they look like UFOs, completely out of a brass barrel lens style. Thinking in that track I decided to make some leather caps to my lenses and the procedure showed to be quite effective with a pleasing result. So that is what I want to share with you in this page.
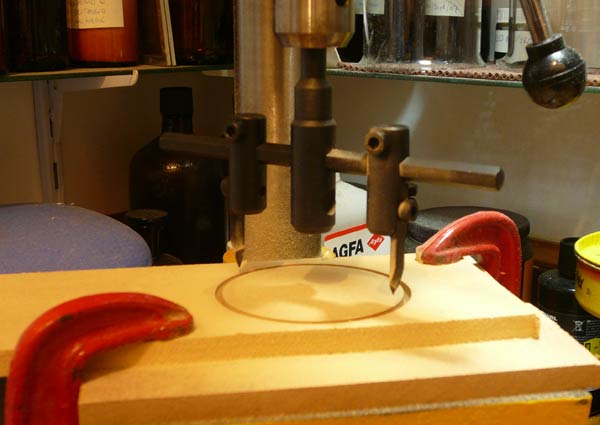
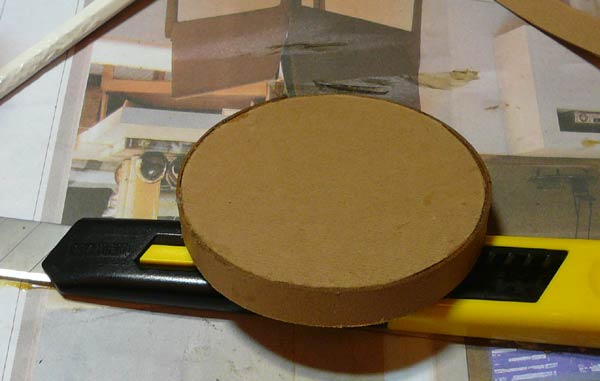
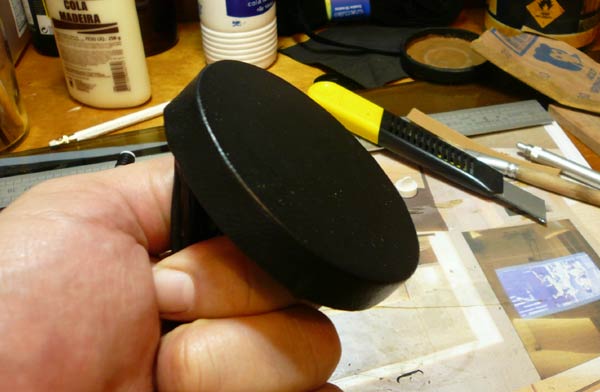
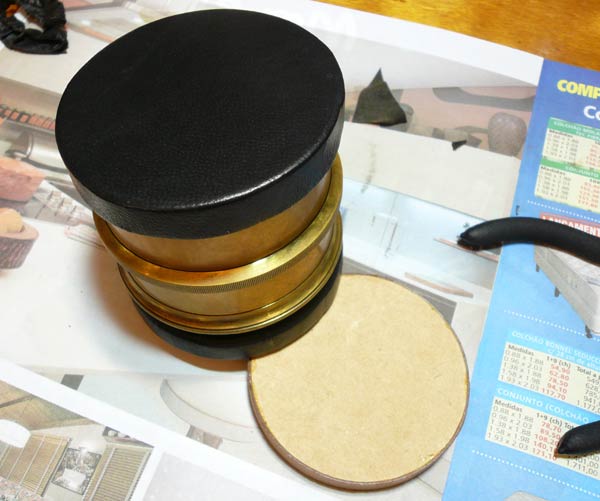
Cut or find a disk (like a puck) with a diameter slightly larger, or just not smaller, than the lens you want to build a lens cap to. The material could be plywood, MDF or anything somehow rigid. About the thickness, think that it will be the depth of your finished lens cap.
Now you have to find a cardboard that will strut the cap. Leather stores normally have cardboards that are used to make boxes, purses, etc. It is used to give shape and later it is covered with leather or fabric. That is exactly our case in here. Buy one sheet reasonably hard (1,0 to 1,5 mm) and another lighter with 0,5 mm or so. The idea is just about to cut some strips and a disk of that material and make the cap with that.
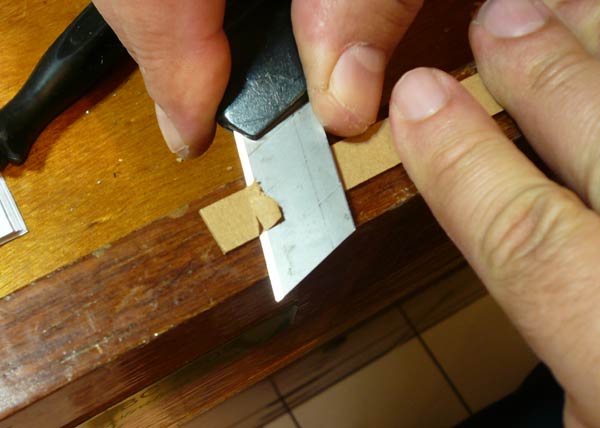
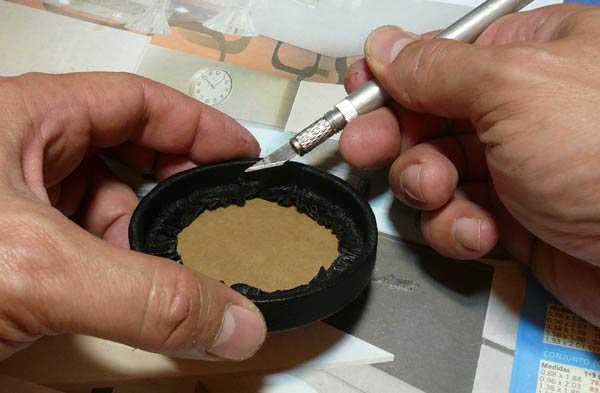
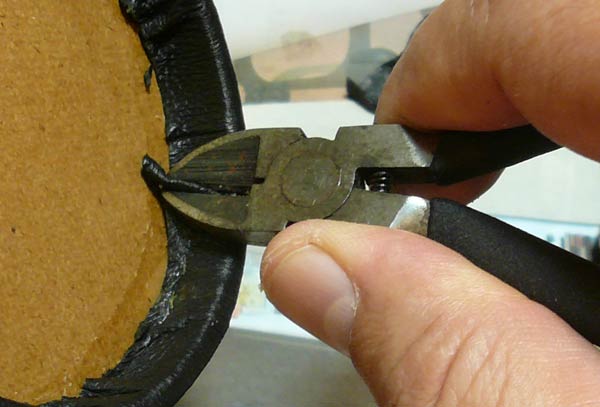
First use the puck to mark and cut a strip with the same width as the puck and long enough to go around the whole circumference. The strip will be like a belt around the puck. In order to do that use a blade to sharpen the tip as shown in this picture.
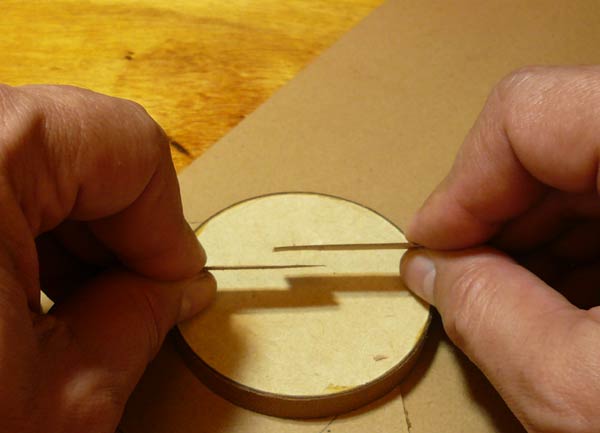
Now you cut the strip longer than the puck's circumference allowing an overlap on the sharpened area. On the opposite side you do the same but on the other side of the strip in a way that both will match. The overlapping area should look like in this picture. If you are no sure about rigidity you can go for a second belt built the same way. But the second one must be glued in all its extension. That is what I did in this one.
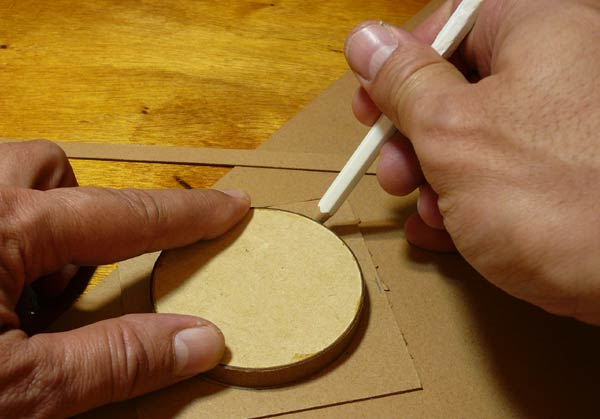
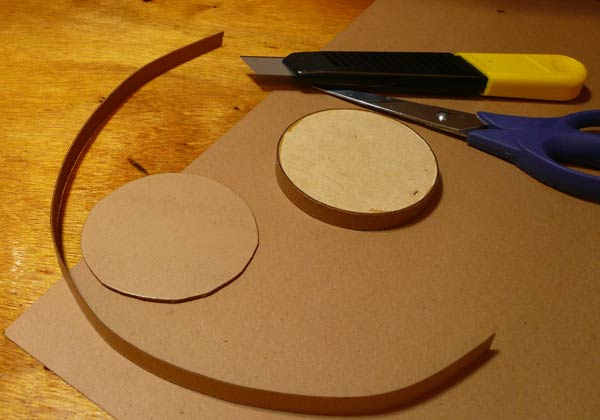
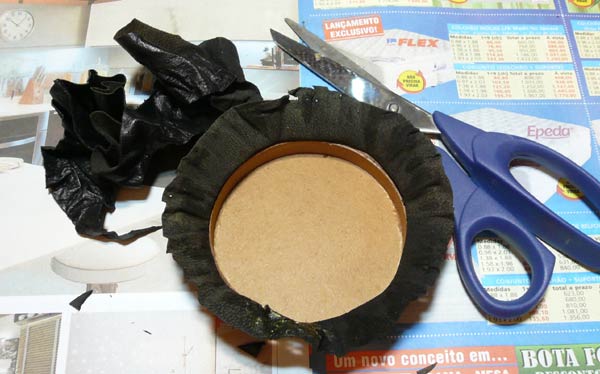
Now, having the strip around the puck mark a circle in a piece of thick cardboard.
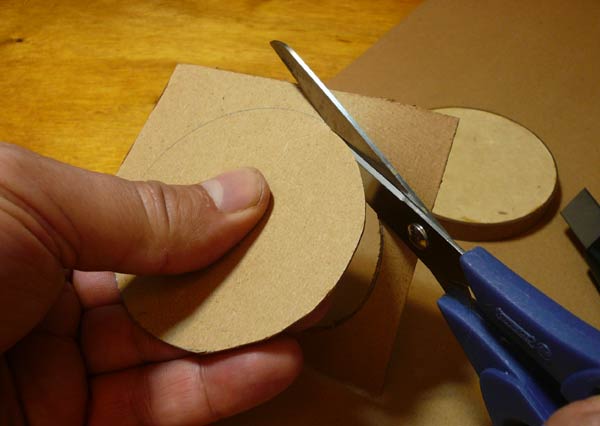
You can cut it with a scissor, small imperfections will be concealed later.
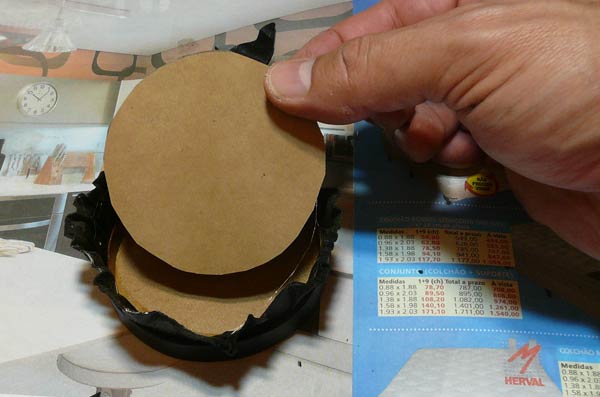
Now you glue the stripe and the lid made of cardboard to form the cap. Use the puck to hold them in position. For the strip a contact cement is more suitable in the overlapping part. But you can do it all with white paper glue provided that you use rubber band or other mean to keep the whole thing in place. Be careful in not allowing the puck being glued together. Let it dry.
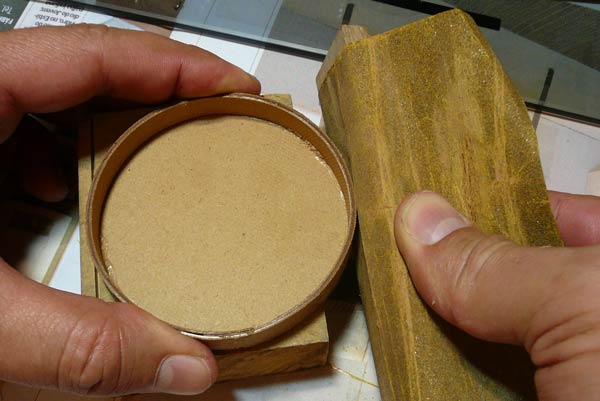
Use a sandpaper to even the outer part as shown in the picture. The lid may have one or another edge surpassing the belt and this is not good. Even it.

Now you apply the last belt, but this time, its height must be the first belt plus the lid. That will even imperfections on the edge of your lens cap.
You should have by now the complete structure for the lens cap. The rest is finishing.
Sometimes it is easier to look to a scheme: This is a cross cut on the diameter.
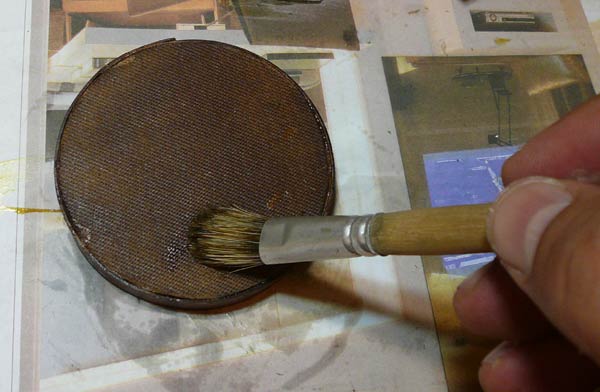
Apply a primer and smooth the edge with sandpaper. Any relief will show up on the final cap. Case you have unwanted slits fill them with modeling paste and sandpaper again in order to have a smooth surface all over.
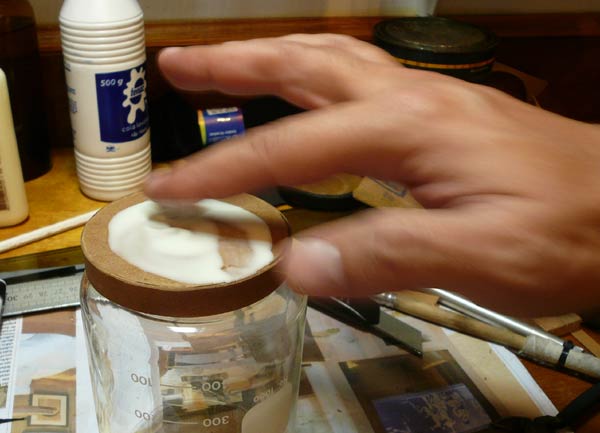
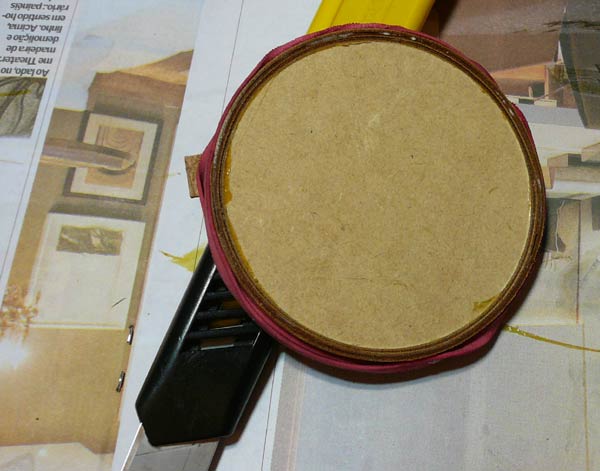
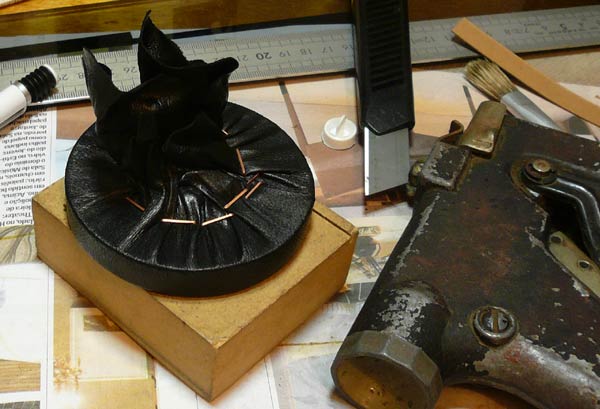
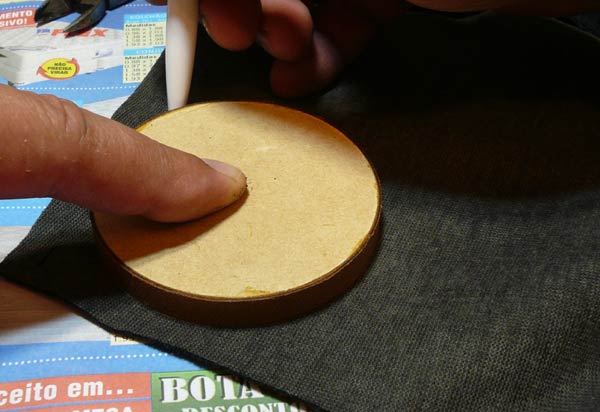
Find a place like the top of this glass, somewhere that can firmly stand the cap with the puck inside. Apply white glue on the external part of the cap.
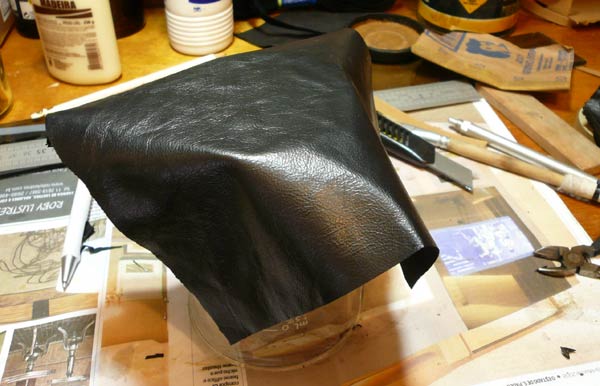
Now you lay a piece of leather larger than the cap. The leather must have been soaked in water for at least one hour. Remove the excess of water with a towel and after placing in on the cap start stretching it in order to shape it like the cap. You have to pull it downwards around the stand. It is better to do it little by little avoiding to tear it apart. The leather must be really thin or you wont be able to fold it properly.
After some 2 to 3 minutes massaging the leather you must be able to hold it like this. Try to avoid the glue running out of the caps area otherwise it will glue the puck as well.
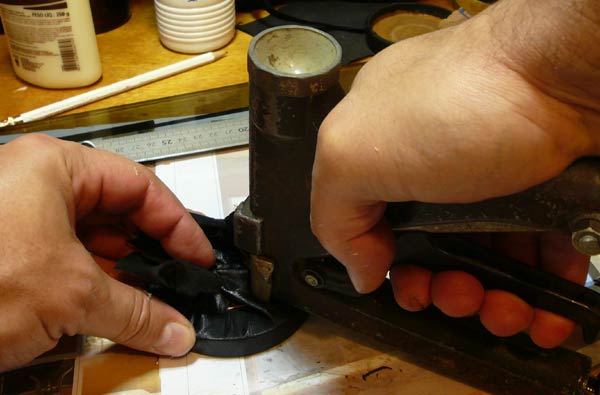
Now you staple it while the leather is still wet.
Let it dry completely.
Remove the staples and cut the edges allowing a hem to be folded around the caps wall.
Contact cement is good for this part but it is a good idea to place a paper disc at the bottom of the cap because we don't want the leather folding again at the inner corner.
Instead, we use a blade to remove any excess.
Occasionally, folds can be removed this way leaving an even surface.
Now you mark a disc in velvet.
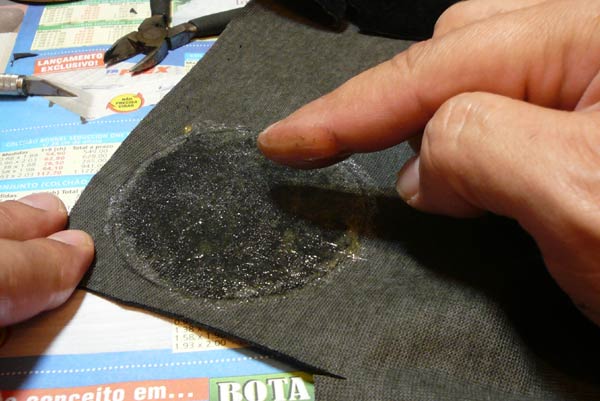
Contact cement is again recommended
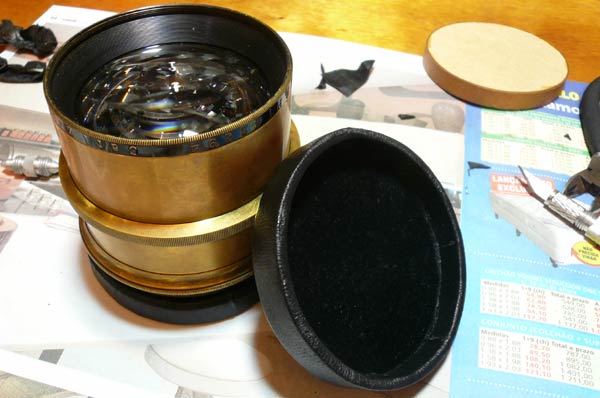
Apply the velvet at the bottom of you cap and there you are.
Your lens probably stayed without cap for some years or maybe decades. Don't hurry up to put the new one on. Many solvents are still coming out of it due to the cements and glue you used. Let it rest for 2 weeks in a well ventilated place before use.
