Re-lackering Brass Barrel Lenses
with modern varnish
I know that many camera collectors consider this a sacrilege. There is a lot of talk about patina, authenticity and respect for the marks of aging a brass barrel lens may show in view of its past.
But fact is that I am primarily a user of such equipments and I was tired of having a hard time to read the very often tiny engravings for aperture setting. Furthermore I have nothing against new stuff and then I appreciate the ex-factory looking. It has its beauty as well.
Considering pros and cons I decided that in finding a way to re-lacquer some of my lenses in an almost pro way, getting them to a condition closer to what they should have shown at the time they were released: I would go for it.
After some research on the web and trial and errors with scrap samples, I was able to try something that to my taste worked very well. That is what I want to share here with you.
Some points to consider before we start: |
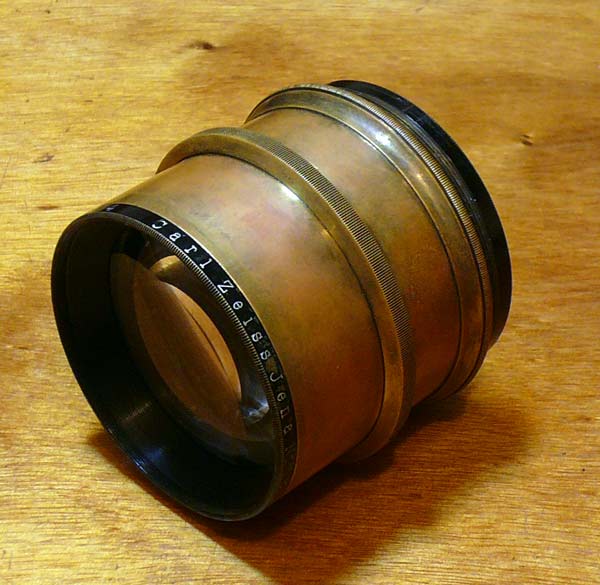
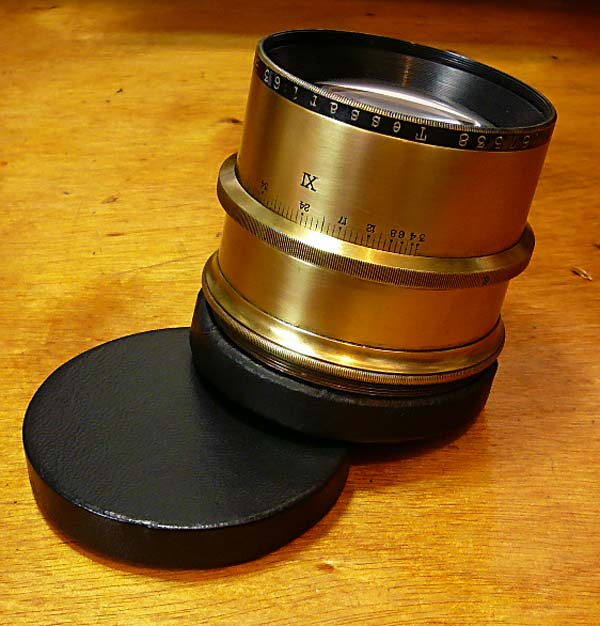
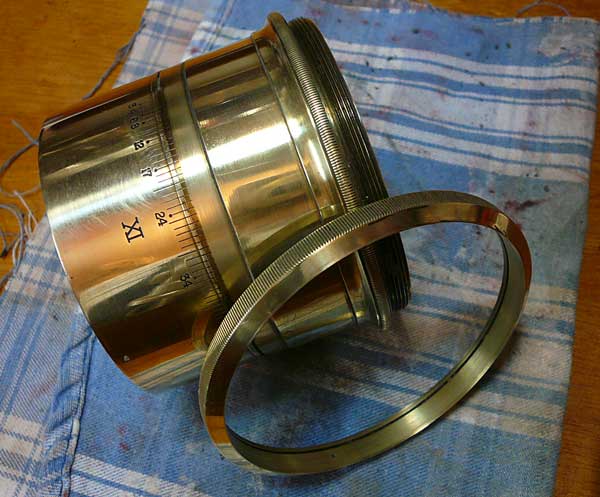
This is the initial condition of a Tessar 360 mm.
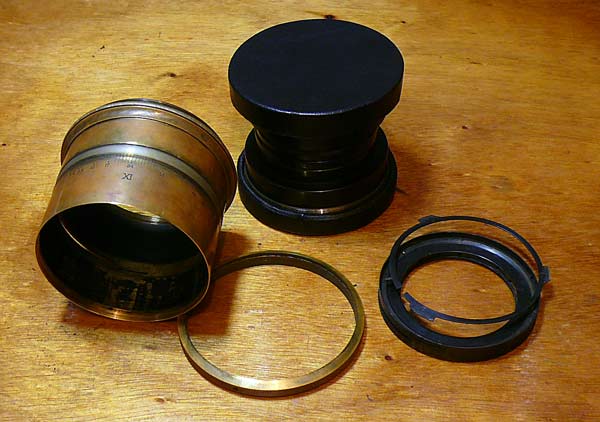
First you have to disassemble it. It is important to take out the iris because there will be a step done in somehow hot temperatures that can possibly cause damage to its delicate blades.
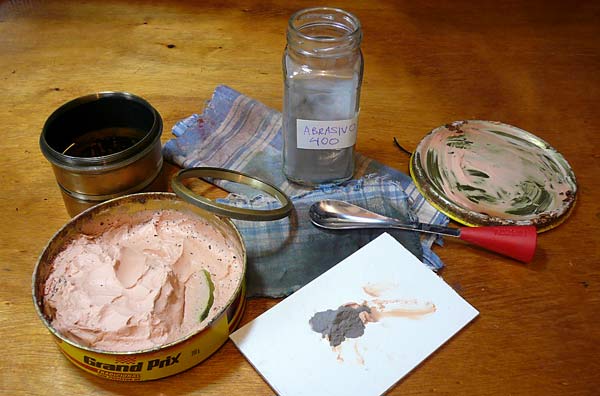
To get rid of patina, corrosion, whatever... I use car polishing wax mixed with abrasive grade 400. For application, a thick cloth is ideal for holding it its fibers the abrasive particles.
After a while you get to this look. Personally I don't like it. It is too shiny and it easily gets marked by fingerprints.
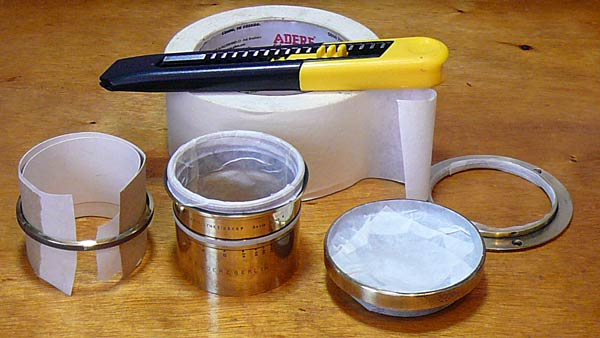
Now it is important to apply painter's tape to all parts that should not receive lacquer. I include there all threads, black painted areas and interiors.
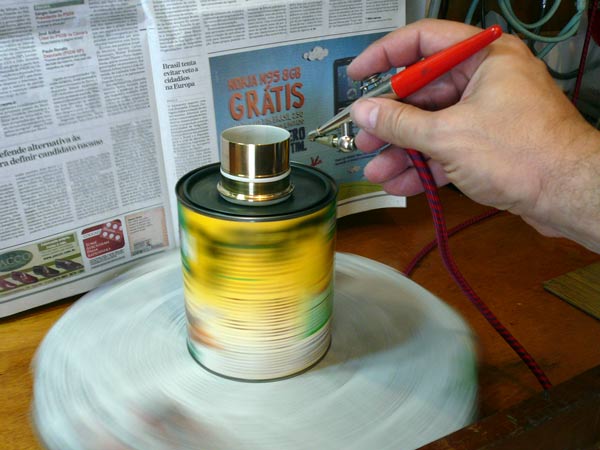
Next comes the new lacquer. I researched one used by music instruments makers. It is used for brass like in trumpets or saxophones. The brand name is Cumin Al and it is produced by Du Pont. I assume it might be availably internationally but I did not find it in Du Pont's international web site. It is based on epoxi resin reticulated with melanin resin (hope this helps case you consult a Du Pont dealer). For application you add 50% of solvent, in volume, and use an air brush. It is crystal clear and leaves a layer of 40 to 60 microns of meter only. It is almost invisible after application. One problem I found is that the smallest pack sold here is Brazil amounts to 18 liters! One could do some 15.000 lenses with that quantity. What helped me, is that the Du Pont dealer gave the phone of one of its customer (using the lacquer for faucets and other bathroom metals) and the guy was kind enough to offer me a 200 ml glass of lacquer, plus another glass with solvent, for free.
It is important to use a mask while airbrushing to avoid breathing the mist it creates. The rotating plate, as you see in the picture, is not necessary but it helps.
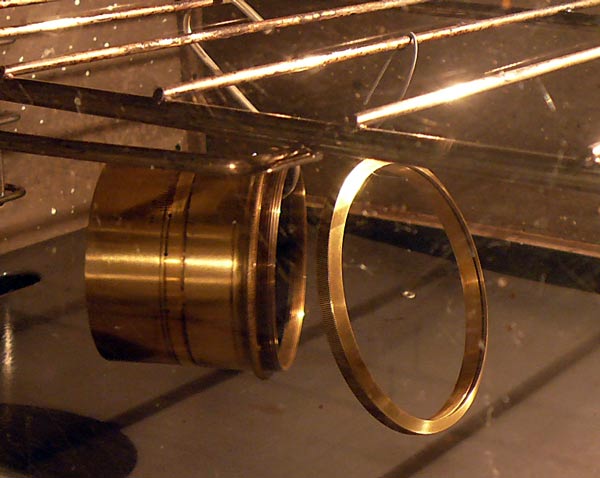
Right after application, place it all in an oven. It must be baked for 15 minutes at 150 degrees Celcius. I found that a conventional oven, used for cooking, provides that temperatures already at its lowest settings. I remove the tapes because the one I used was leaving part of the adhesive on the surface, making it sticky and in need to be cleaned up after baking. Maybe a better quality tape would go to the oven and peel off completely afterwards.

Once it cooled down you can reassemble the lens. You will notice immediately that it is not subject to stains due to fingerprints. The finish gets a sort of satin look that is very pleasing. In this picture you have the four lenses I did so far: Lynkeyoscope from Goerz, Aplanat from Rodenstock, Tessar from Zeiss and a Dagor again from Goerz.
Adding some black pigment to the lacquer it was possible to paint in black the details that originally were made in that color. I did not try golden tones as I think a lot of skill in airbrushing is needed in order guarantee evenness in the lacquer thickness. Differences do not show up with a totally transparent coating but for sure that won't be the case with a toned one.
All in all, I have more pleasure in using those lenses now than before, when they were dull and covered with history.
After sharing this page in a photography forum, some guys came up with the idea of trying the traditional lacquer. Find out the results in this link.
